The Swervebot is an omnidirectional robot that combines LEGO and 3D-printed parts

Robotic vehicles can have a wide variety of drive mechanisms that range from a simple tricycle setup all the way to crawling legs. Alex Le’s project leverages the reliability of LEGO blocks with the customizability of 3D-printed pieces to create a highly mobile omnidirectional robot called Swervebot, which is controllable over Wi-Fi thanks to an Arduino […]

The post The Swervebot is an omnidirectional robot that combines LEGO and 3D-printed parts appeared first on Arduino Blog.

Robotic vehicles can have a wide variety of drive mechanisms that range from a simple tricycle setup all the way to crawling legs. Alex Le’s project leverages the reliability of LEGO blocks with the customizability of 3D-printed pieces to create a highly mobile omnidirectional robot called Swervebot, which is controllable over Wi-Fi thanks to an Arduino Nano ESP32.

The base mechanism of a co-axial swerve drive robot is a swerve module that uses one axle + motor to spin the wheel and another axle + motor to turn it. When combined with several other swerve modules in a single chassis, the Swervebot is able to perform very complex maneuvers such as spinning while moving in a particular direction. For each of these modules, a pair of DC motors were mounted into custom, LEGO-compatible enclosures and attached to a series of gears for transferring their motion into the wheels. Once assembled into a 2×2 layout, Le moved onto the next steps of wiring and programming the robot.

The Nano ESP32 is attached to two TB6612 motor drivers and a screen for displaying fun, animated eyes while the robot is in-motion or idling. Controlling the swerve bot is easy too, as the ESP32 hosts a webpage full of buttons and other inputs for setting speeds and directions.

For more details on the Swervebot, you can read Le’s write-up here on Instructables.

The post The Swervebot is an omnidirectional robot that combines LEGO and 3D-printed parts appeared first on Arduino Blog.

Control your volume with a wireless rotary encoder, as you deserve

Every decent stereo sold since the invention of sound has included a knob on the front for adjusting volume. There are influencers and entire communities dedicated to evaluating the feel of those wonderful knobs. So why would you settle for the mushy volume buttons on a remote? Eric Tischer didn’t think he should have to, […]

The post Control your volume with a wireless rotary encoder, as you deserve appeared first on Arduino Blog.

Every decent stereo sold since the invention of sound has included a knob on the front for adjusting volume. There are influencers and entire communities dedicated to evaluating the feel of those wonderful knobs. So why would you settle for the mushy volume buttons on a remote? Eric Tischer didn’t think he should have to, so he built his own wireless rotary encoder device for controlling his DAC’s volume.

A digital-to-analog converter (DAC) is an important part of modern digital audio systems. Tischer’s DAC/preamp takes the digital signal from a TV or other device, turns it into an analog signal, and then pushes that out to an amplifier. The DAC has a rotary encoder on the device itself for adjusting volume, but the remote just has the standard buttons. Tischer measured that remote and found that it takes 25 seconds to go from zero to full volume. That’s almost as annoying as the horribly unsatisfying buttons.

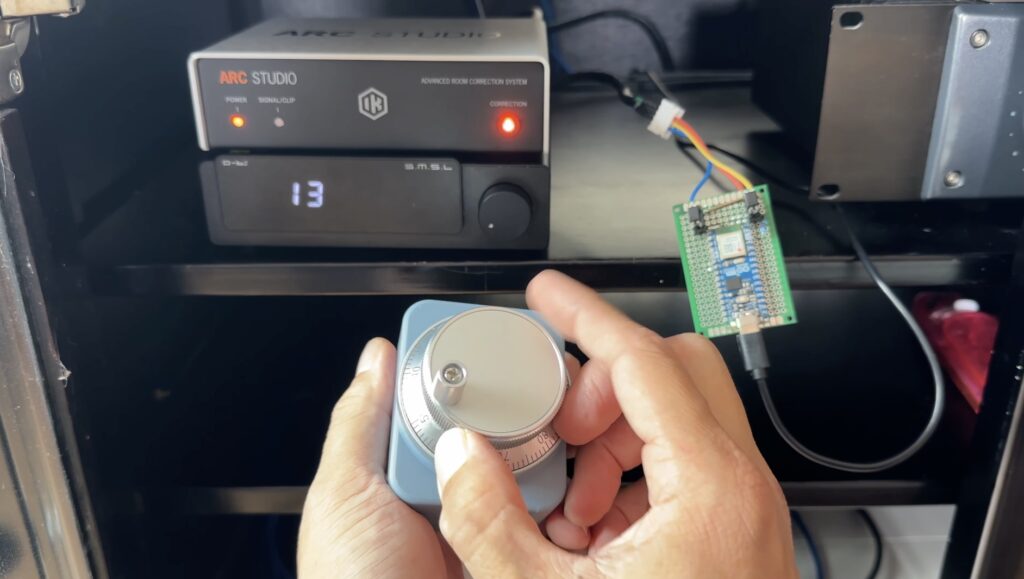
Tisher’s solution was to construct a new wireless remote with only one job: controlling volume. It has a big CNC jog-wheel style rotary encoder that reportedly has a very nice feel, with 100 total detent “clicks” per revolution. That matches perfectly with the number of volume levels.

An Arduino Nano ESP32 board monitors the remote rotary encoder and communicates the detected position (via pulse-counting) to another ESP32 board by the DAC over ESP-NOW. That second board attaches to the DAC’s built-in rotary encoder pins and simulates pulses that match the remote. So as far as the DAC knows, Tischer is rotating the built-in encoder. In reality, he’s sitting comfortably on the couch spinning that handheld knob instead of pushing buttons dozens of times per commercial break.

The post Control your volume with a wireless rotary encoder, as you deserve appeared first on Arduino Blog.

Marble art madness from a marvelous machine

Marbles are underrated. They’re very round, roll well, tend to be pretty shiny, and come in all sorts of neat colors. That last characteristic makes them suitable for artwork, like orbicular pixels. In his most ambitious project to date, Engineezy took advantage of those attributes (roundness and colorfulness) to build this amazing machine that automatically […]

The post Marble art madness from a marvelous machine appeared first on Arduino Blog.

Marbles are underrated. They’re very round, roll well, tend to be pretty shiny, and come in all sorts of neat colors. That last characteristic makes them suitable for artwork, like orbicular pixels. In his most ambitious project to date, Engineezy took advantage of those attributes (roundness and colorfulness) to build this amazing machine that automatically produces marble art displays.

Engineezy has made a name for himself with his impressive and often complex mechanical design, and this project certainly fits that bill. It is enormous and the entire thing is basically a stack of fascinating mechanisms. There are mechanisms to separate the marbles by color (there are eight colors), elevator mechanisms to lift the marbles to the top of the sorters, pump mechanisms to move the sorted marbles up, feed mechanisms to drop the appropriate marbles into the displays area columns, and a mechanism to dump all the marbles from the bottom to start the process over.

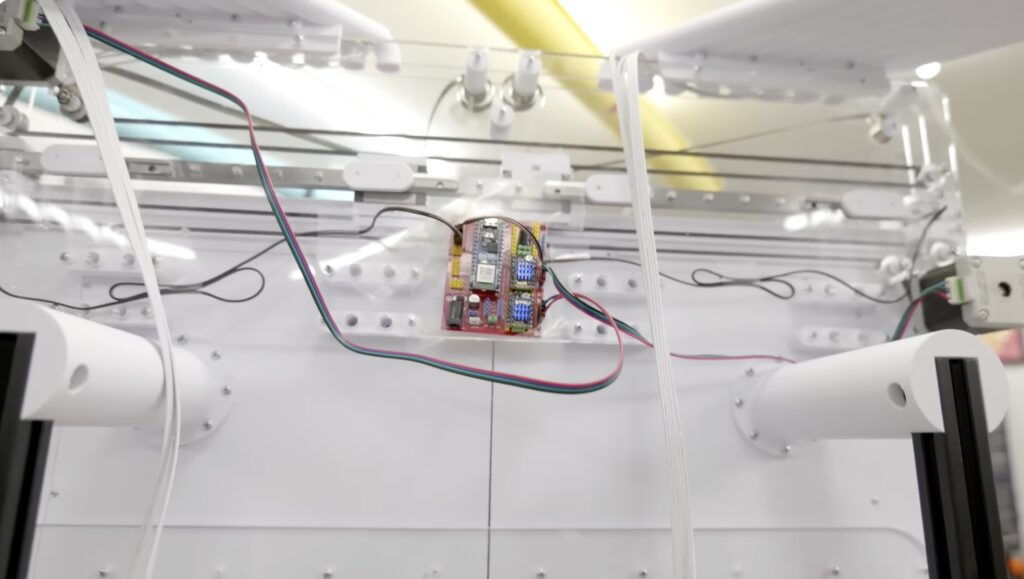
All of those mechanisms require a whole bunch of motors and drivers, along with several development boards to direct them. The feed mechanisms at the top, for example, operate under the control of an Arduino Nano ESP32. It oversees the movement of the two stepper motors that slide two guides back and forth — a design inspired by IDEX (Independent Dual-Extruder) 3D printers. Those use funnel-like ramps created by two coil springs that adapt to the movement — a rather ingenious idea.

The mechanisms all work in concert to drop the marbles into the display area, creating images of 32×32 pixels (1,024 “pixels” in total) and up to eight colors. The machine can automatically reset itself and then display a new image, so it can keep going indefinitely while spectators watch the intricate dance play out. 

The post Marble art madness from a marvelous machine appeared first on Arduino Blog.