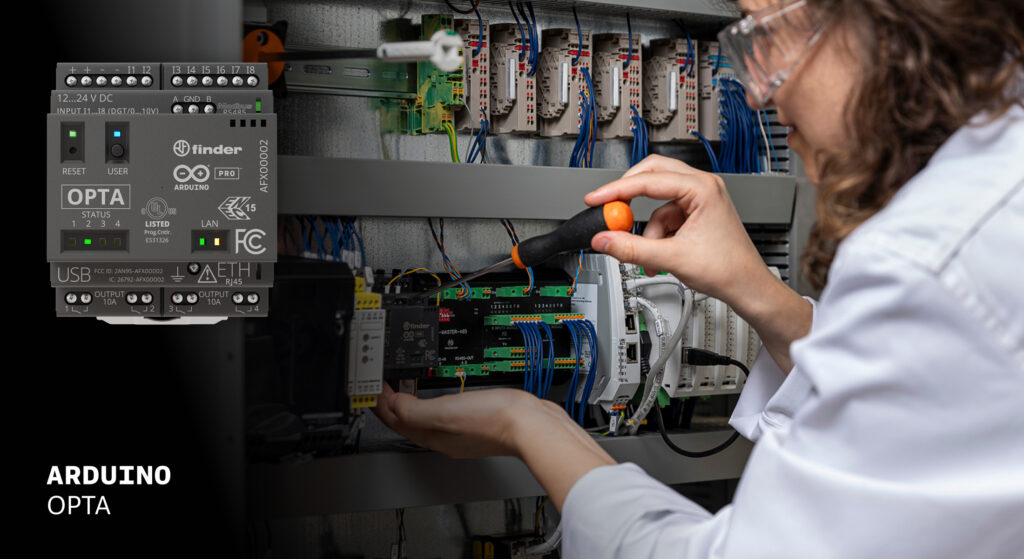
Machine-to-machine communication is easier than ever: Opta now supports OPC UA

OPC Unified Architecture – OPC UA in short – is a cross-platform, open-source machine-to-machine communication protocol for industrial automation. It was developed by the Open Platform Communications (OPC) Foundation and is defined in detail in the IEC 62541 standard. With the release of the Arduino_OPC_UA library we enable users to convert any product from our […]

The post Machine-to-machine communication is easier than ever: Opta now supports OPC UA appeared first on Arduino Blog.
OPC Unified Architecture – OPC UA in short – is a cross-platform, open-source machine-to-machine communication protocol for industrial automation. It was developed by the Open Platform Communications (OPC) Foundation and is defined in detail in the IEC 62541 standard.

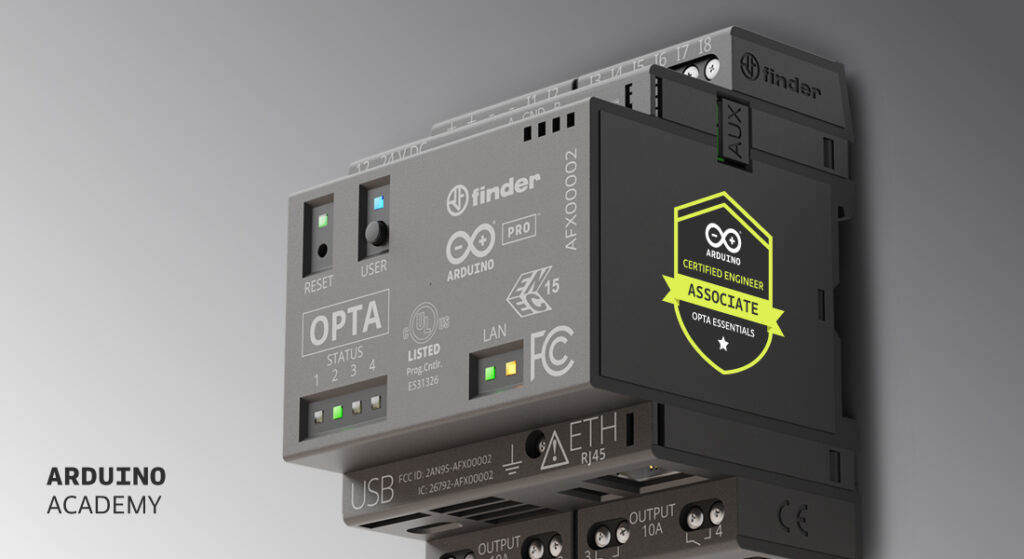
With the release of the Arduino_OPC_UA library we enable users to convert any product from our Arduino Opta range into an OPC UA-enabled device

Step-by-step guide to setting up OPC UA on Arduino Opta

It’s as simple as uploading a single sketch onto your Opta and connecting it to an Ethernet network. Once uploaded, the OPC UA firmware exposes the Arduino Opta’s analog and digital inputs, the user button and LED (only Arduino Opta WiFi), as well as its relay outputs as properties that can be read from or written to using OPC UA. OPC UA communication is performed using OPC UA binary encoding via TCP sockets.

Arduino_OPC_UA is a port of the Fraunhofer open62541 library implementing IEC 62541 in highly portable C99 for both Windows and Linux targets. One serious challenge during the porting of open62541 was to decide on sensible tradeoffs concerning RAM consumption, as using OPC UAs full namespace zero (NS0) requires up to 8 MB of RAM while the STM32H747 powering the Arduino Opta has a total of 1 MB of SRAM to offer – some of which already allocated by the the Arduino framework for the Arduino Opta.

Expand functionality with Arduino Opta Modules and OPC UA integration

Additionally, Arduino_OPC_UA supports the automatic discovery, configuration and exposure as OPC UA objects of the recently released Arduino Opta expansion modules. Currently three different expansion modules exist: Arduino Opta Analog Expansion (A0602), Arduino Opta Digital Expansion with electro-mechanical relay outputs (D1608E), and with solid-state relay outputs (DS1608S). During system start-up, the Arduino Opta’s expansion bus is queried for connected expansion modules and automatically configures them and brings them online for interfacing via OPC UA.

You can extend the default OPC UA server to add additional OPC UA properties such as data collected from a sensor device connected to the Arduino Opta. As a demonstration, we’ve created an example showing how to collect temperature and humidity data from a Modbus RTU device (connected to the Opta’s RS485 port) and subsequently expose this data via OPC UA properties.

How will you use the new Arduino_OPC_UA library? Let us know in the comments below or share your newest projects on Project Hub

The post Machine-to-machine communication is easier than ever: Opta now supports OPC UA appeared first on Arduino Blog.
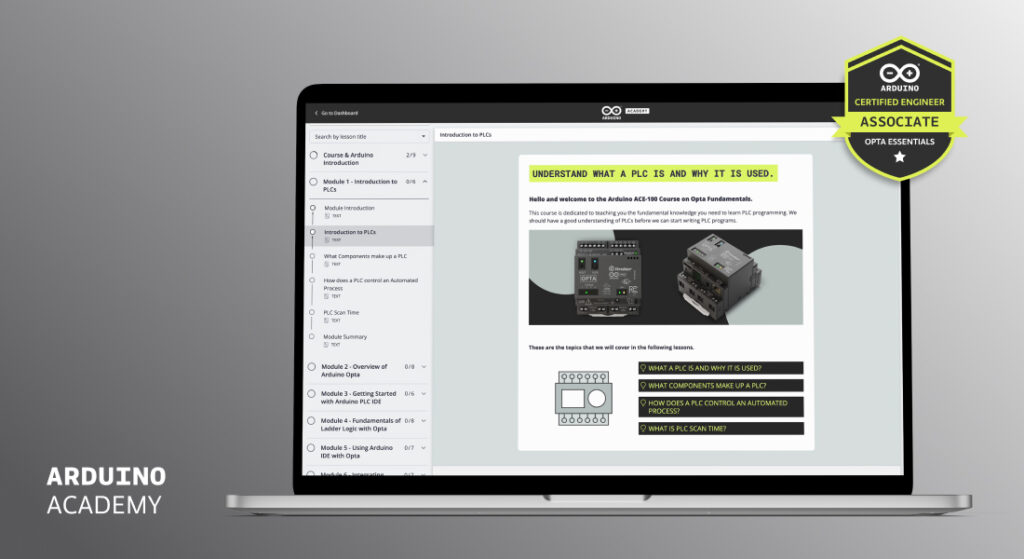
Introducing Arduino Academy: your path to becoming an Arduino-Certified Engineer begins!

Want to upgrade your skills and become a certified Arduino engineer? Welcome to the Arduino Academy, the go-to platform for hands-on, interactive learning designed to prepare you for the future of technology. Whether you’re just starting or looking to advance your career, the Academy offers cutting-edge courses that will give you a competitive edge leveraging […]

The post Introducing Arduino Academy: your path to becoming an Arduino-Certified Engineer begins! appeared first on Arduino Blog.

Want to upgrade your skills and become a certified Arduino engineer? Welcome to the Arduino Academy, the go-to platform for hands-on, interactive learning designed to prepare you for the future of technology. Whether you’re just starting or looking to advance your career, the Academy offers cutting-edge courses that will give you a competitive edge leveraging the leading open-source ecosystem in the world.

Arduino Education Goes Pro

Capitalizing on Arduino’s extensive experience in the education space and the success of the industrial-grade professional products in the Arduino Pro range, the Arduino Academy offers self-paced courses that facilitate deep learning with hands-on labs

Designed for all skill levels, it provides certifications and badges for LinkedIn integration and allows progress tracking, flexible navigation, and personalized learning paths

Each course includes built-in quizzes, discussions, and multimedia content and is mobile-friendly for learning on the go. Like all Arduino initiatives, it comes with the support of a dynamic global community of 33+ million active users, always ready to help and contribute!

Master PLC Programming Basics with ACE-100 

The first course in the Arduino Academy is Opta Essentials (ACE-100), where you’ll jump right into industrial automation, gaining essential PLC programming skills using Ladder Diagram and Arduino Language (based on C++).

Designed to engage you in hands-on projects, ACE-100 gives you practical experience for real-world applications – like designing a bottle-filling conveyor system. You’ll learn to connect the Arduino Opta with Arduino Cloud, enhancing your automation capabilities, and unlock your creativity with the cost-effective Opta Trainer Kit, available through authorized partners, PLC Cables and DigiKey.

This self-paced, 16-hour course is perfect for those eager to learn PLC programming using Arduino IDE and PLC IDE. It covers the five languages in the IEC 61131-3 standard. ACE-100 is the ideal starting point for diving into Industrial IoT (IIoT) and was designed by the Arduino team for a broad audience, including students, professional embedded engineers, and companies looking to train their employees or provide them with valuable self-training. 

Last but not least, ACE-100 is free! Enroll now to take advantage of this transformative learning experience.

Stay tuned; more courses are in the works and will be released soon! Ready to take the plunge? Head to the Arduino Academy and begin your journey toward becoming an expert in the fields of embedded and automation technologies, with Arduino.

The post Introducing Arduino Academy: your path to becoming an Arduino-Certified Engineer begins! appeared first on Arduino Blog.

This belt grinder uses an Arduino Opta micro PLC

A mainstay in most machine shops, the belt grinder assists in greatly increasing the speed at which parts can be ground down in a safer, more controlled manner compared to an angle grinder. As an effort to build a tool like this one for the first time, Julien Alexandre chose to use Arduino Opta as […]

The post This belt grinder uses an Arduino Opta micro PLC appeared first on Arduino Blog.

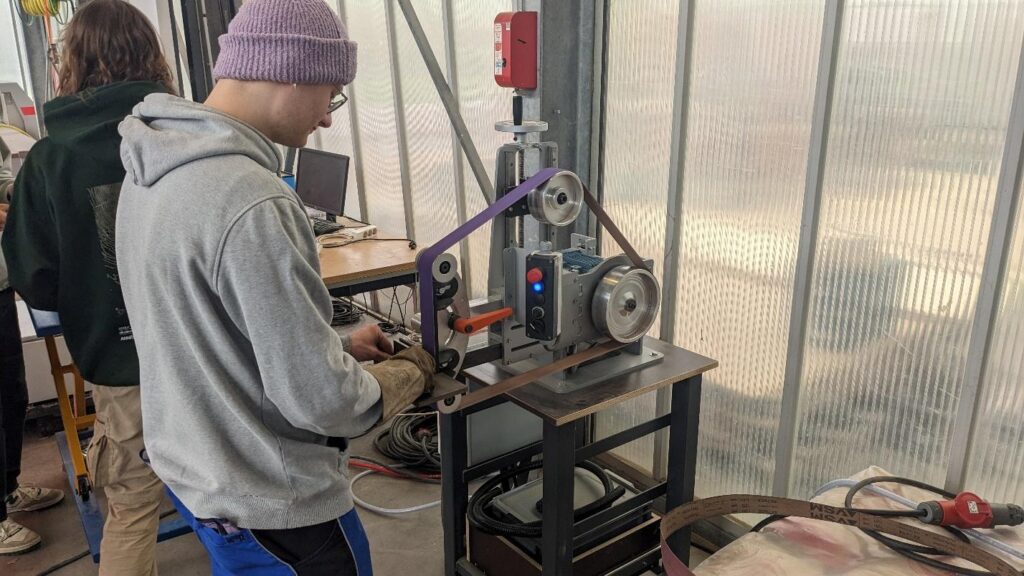
A mainstay in most machine shops, the belt grinder assists in greatly increasing the speed at which parts can be ground down in a safer, more controlled manner compared to an angle grinder. As an effort to build a tool like this one for the first time, Julien Alexandre chose to use Arduino Opta as its controller while designing it from the ground up.

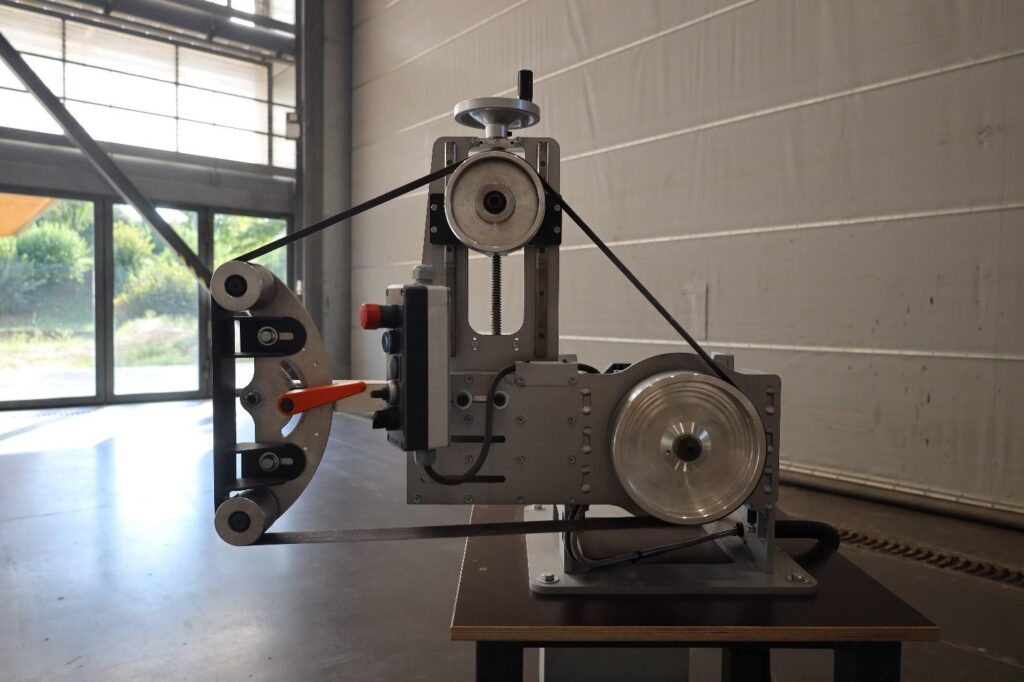
Belt grinders, as the name implies, use a rapidly moving, abrasive belt that has been wound around a set of pulleys and gets driven by a large motor. The main drive pulley was mounted at the rear of the machine and securely connected to a three-phase AC motor. Above it is a height-adjustable point for controlling the belt’s tension, which also aids in swapping belts when needed. The last two pulleys are situated across from the motor and can be tilted vertically to alter the grinding angle. Lastly, the entire assembly can pivot to lay flat on the table or raised at an angle to it.

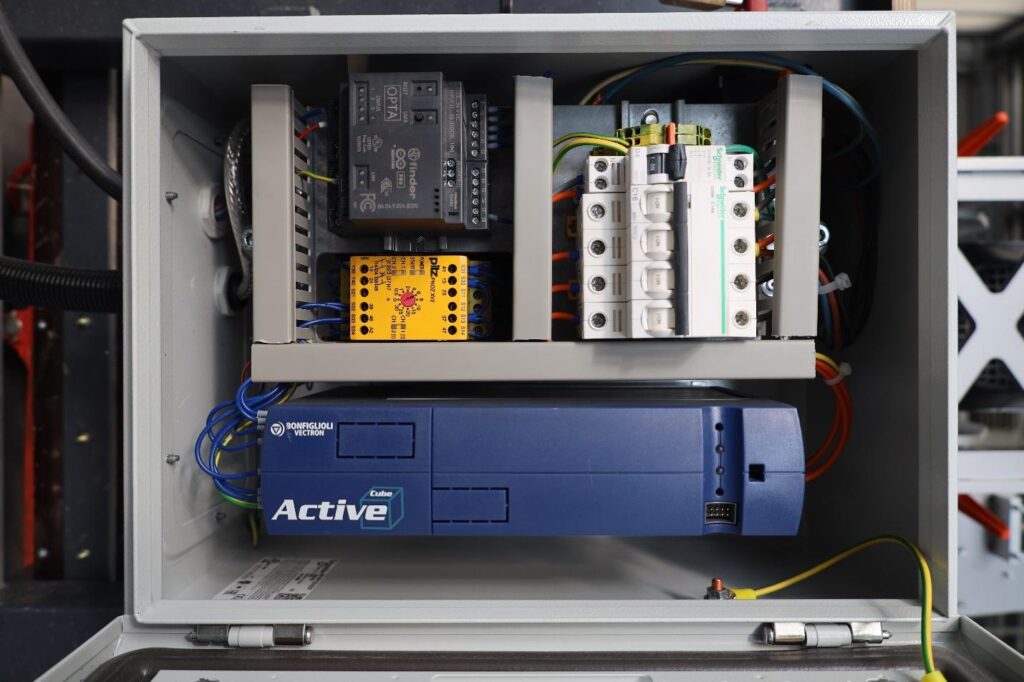
Facilitating the belt grinder’s operation is an Arduino Opta micro PLC. It receives a signal from two digital inputs that, when either is active, cause the Opta to blink a blue LED indicating to the operator that an error occurred in the security relay that manages the safety chain.. The motor controller (a variable-frequency drive) receives its values from a switch and a potentiometer located on the control panel, with the former dictating if the system is active and the latter being used for adjusting the speed. To see more about Alexandre’s ongoing projects, you can visit his Instagram page here.

The post This belt grinder uses an Arduino Opta micro PLC appeared first on Arduino Blog.